Setting Up X-LITE for WINDOWS 10
1. First I go to X-lite website and download the windows version https://www.counterpath.com/x-lite/
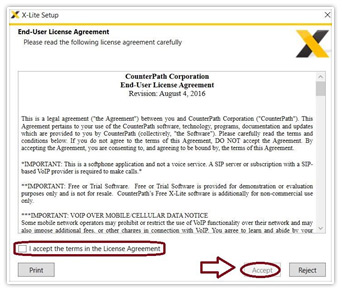
Once I download the X-lite software you need to accept their terms and conditions in order to continue with the set up and click “Accept”:
Once I download the X-lite software you need to accept their terms and conditions in order to continue with the set up and click “Accept”:
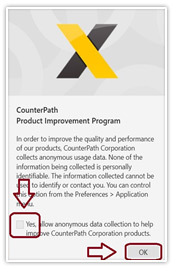
2. After you accept the terms and condition the software will get installed. While installing the software X-lite will ask you to accept the option for anonymous usage data collection, you need to “check” it to allow the option and then “OK”.
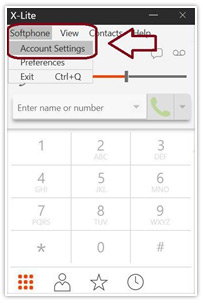
3. Once you have the software installed you need to click on “softphone” and then “Account Settings” to start the configuration.
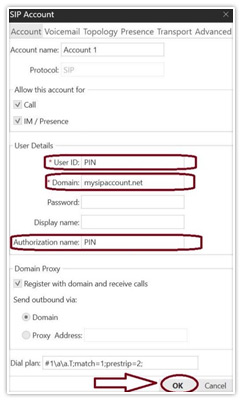
4. After you click on “Account Settings” the following window will popup, you will need to fill the information highlighted and then press “ok”
» Instructions for getting your Domain, PIN, & Password
» Instructions for getting your Domain, PIN, & Password
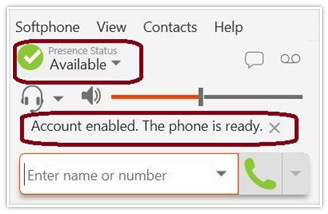
5. After you finish the configuration the X-lite should show the following message (Check the picture below) in order to confirm that the account was set up correctly.